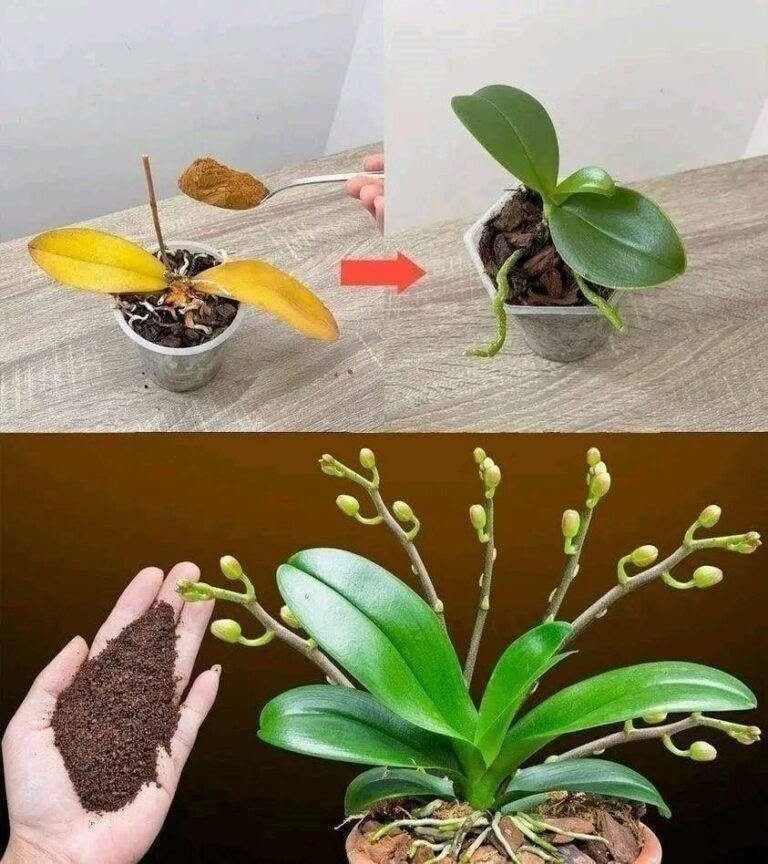
Just a teaspoon, suddenly the orchid miraculously blooms with lots of flowers
The Viral “Teaspoon Trick” for Orchids: What Really Helps Orchids Bloom
Orchids are among the world’s most admired houseplants. Their elegant flowers, graceful stems, and remarkable variety of colors make them a favorite for both beginner and experienced plant lovers. A healthy orchid can produce stunning blooms that last for weeks or even months, adding beauty to any home.
If you’ve ever owned an orchid, however, you’ve probably discovered that keeping it alive is often easier than getting it to bloom again. After the last flowers fade, many owners wonder whether they’ll ever see another blossom.
Recently, social media and gardening websites have promoted a mysterious “teaspoon trick,” claiming that adding just one teaspoon of a homemade solution can make orchids bloom continuously. While these claims are certainly intriguing, the truth is that orchids don’t have a magical shortcut to flowering.
Healthy blooms are the result of proper care, patience, and the right growing conditions—not a miracle ingredient.
In this guide, we’ll separate fact from fiction, explain what orchids truly need to flower, and discuss which homemade treatments are safe and which should be avoided.
Understanding Orchid Bloom Cycles
One of the biggest misconceptions about orchids is that they’re supposed to flower all year.
In reality, most orchids go through natural growth cycles that include:
Active growth
Flower spike development
Blooming
Resting
The exact timing depends on the orchid species.
For example, the popular Phalaenopsis (moth orchid) typically blooms once each year, with flowers lasting two to four months under good conditions.
After blooming, the plant focuses on growing new leaves and roots before preparing for another flowering season.
Patience is part of successful orchid care.
Why Orchids Sometimes Refuse to Bloom
If your orchid looks healthy but isn’t flowering, one or more growing conditions may need adjustment.
The most common reasons include:
Insufficient light
Incorrect watering
Inadequate temperature changes
Poor nutrition
Aging potting mix
Root problems
Fortunately, most of these issues are easy to correct.
Light: The Most Important Factor
Light is one of the biggest influences on flowering.
Most common orchids prefer bright, indirect sunlight.
Too little light often results in:
Healthy leaves
Strong roots
No flowers
Too much direct sunlight may cause:
Burned leaves
Yellow patches
Heat stress
An east-facing window is often an excellent location.
South- or west-facing windows may require sheer curtains to filter intense afternoon sun.
Watering the Right Way
Overwatering is one of the leading causes of orchid problems.
Unlike ordinary houseplants, most orchids grow naturally attached to trees, where their roots receive plenty of air.
Water only when the potting medium approaches dryness.
Signs it’s time to water include:
Silvery gray roots
Lightweight pot
Dry bark mix
After watering thoroughly, allow excess water to drain completely.
Never leave the pot sitting in standing water.
Humidity Matters
Most orchids originate from tropical environments.
They generally appreciate humidity levels between 40% and 70%, depending on the species.
If your home is dry, you can increase humidity by:
Using a humidifier
Grouping plants together
Placing the pot near (not in) a tray of water and pebbles
Avoid misting excessively, which may encourage fungal problems if water sits in the crown or leaves.
Temperature Helps Trigger Flowers
Many orchids need a slight drop in nighttime temperatures to initiate flower spikes.
For Phalaenopsis orchids, nighttime temperatures about 10°F (5–6°C) cooler than daytime temperatures for several weeks may encourage blooming.
This natural temperature difference often occurs during autumn.
Feeding Your Orchid
Like all plants, orchids benefit from nutrients.
Use a fertilizer specifically formulated for orchids or a balanced houseplant fertilizer diluted according to label directions.
Many growers follow the saying:
“Weakly, weekly.”
This means using a dilute fertilizer more frequently rather than strong doses occasionally.
Flush the potting medium with plain water periodically to prevent fertilizer salt buildup.
The Viral “Teaspoon Solution”
Many online articles suggest adding a teaspoon of one ingredient to stimulate flowering.
Common recommendations include:
Rice water
Banana peel water
Garlic water
Cinnamon
Sugar water
Baking soda
Milk
Aspirin solution
Unfortunately, there is little scientific evidence that these remedies reliably increase orchid blooming.
Some may even create problems.
Homemade Treatments That Require Caution
Sugar Water
Plants produce their own sugars through photosynthesis.
Adding sugar to potting media may encourage mold or bacterial growth.
It is generally not recommended.
Milk
Milk can leave unpleasant odors and may encourage microbial growth in warm environments.
There is no strong evidence that it improves flowering.
Banana Peels
Bananas contain potassium, but homemade banana water provides unpredictable nutrient levels and may decompose quickly.
Commercial orchid fertilizers provide a much more balanced nutrient supply.
Garlic Water
Garlic has antimicrobial compounds, but research supporting its routine use on orchids is limited.
Improper use may irritate roots or alter the growing medium.
Baking Soda
Baking soda is not a fertilizer.
Excessive use may alter the pH of the growing medium and potentially damage roots.
A Better Approach: Consistent Care
Instead of searching for miracle ingredients, focus on creating ideal growing conditions.
Healthy orchids bloom because they receive:
Proper light
Correct watering
Adequate humidity
Good airflow
Appropriate nutrition
Seasonal temperature changes
Consistency almost always outperforms shortcuts.
Repotting Can Make a Difference
Orchid bark gradually breaks down over time.
For Complete Cooking STEPS Please Head On Over To Next Page Or Open button (>)